Get Clear Image: Sharpen Photo Online
Make Photos Sharp and Clear by One Click
1. Choose Image file, 2. Press submit button3. Download result. Get Sharp and clear images by this exclusive editor, easily. You can make blur photos more clear, and remove blemishes too. All automatically, by just one click. This special tool will sharpen color edges, and make image more clear. increase `colors` adjustment to remove more blemishes, and reduce details of photos. increasing `Refine` will produce a more finer result, but it costs more time. The sharpen effect can be obtained quickly for small images. But, for large images, repeat the process several times for best results.
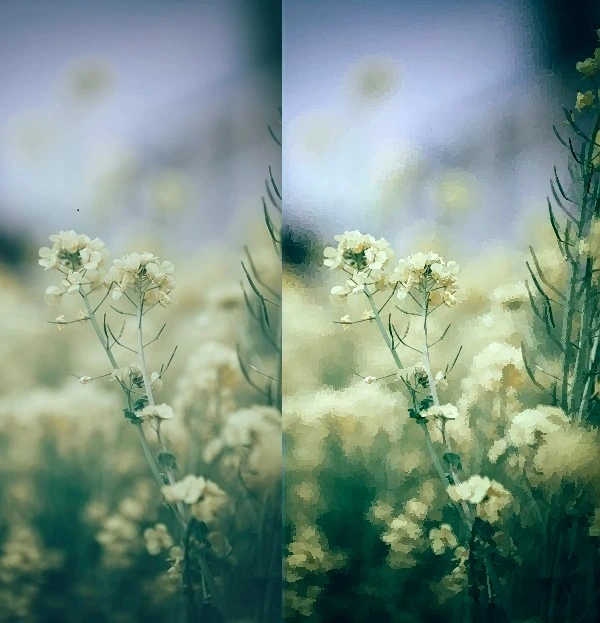
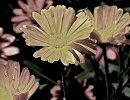
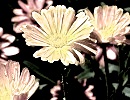
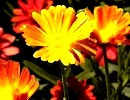
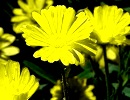
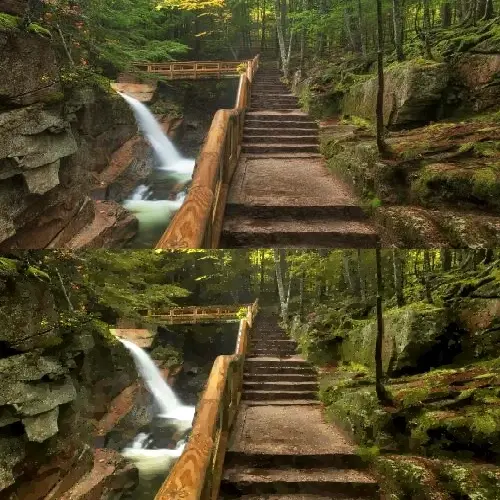
Blur, dull photo to clear sharp scene
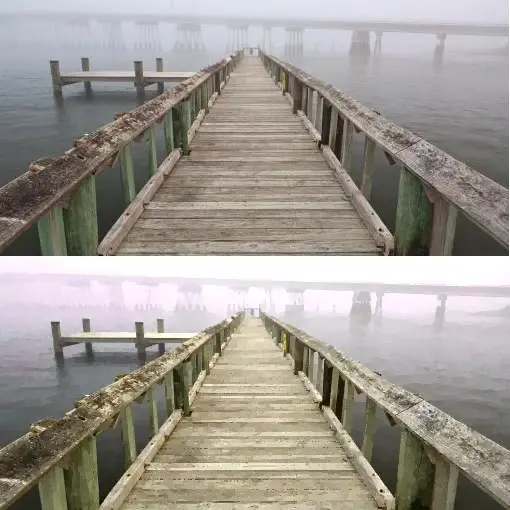
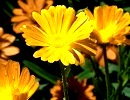
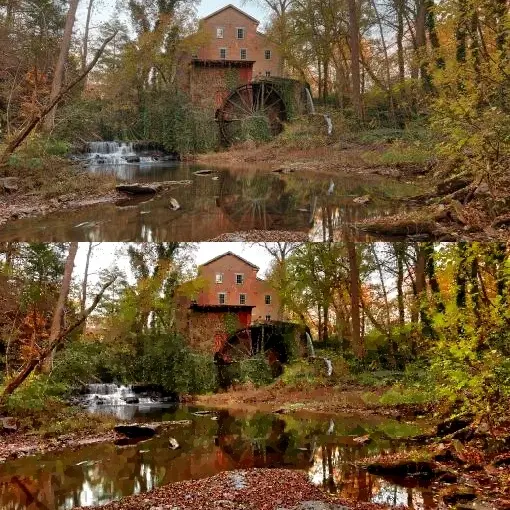
photo sharpen, lightly

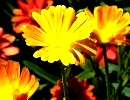
photo sharpen to look more like cartoon
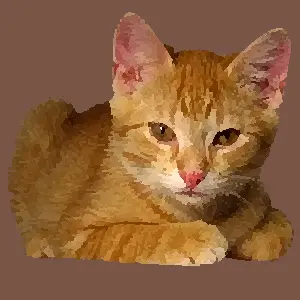
Convert to Cartoon , Painting , or Resize/Crop
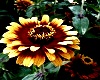
Transformation of Shapes in Image

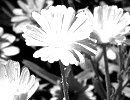
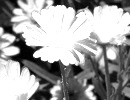
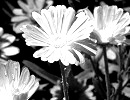
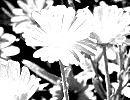
Beautiful Gray Shades Pictures
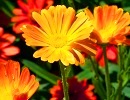
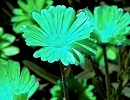
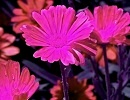
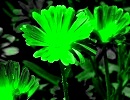
Replace Colors Easily
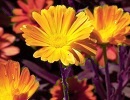
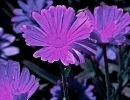
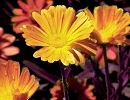
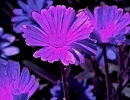
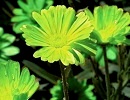
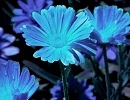
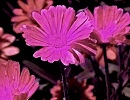
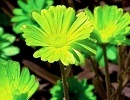
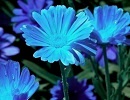
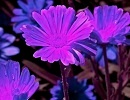
Increase or Reduce RGB Primary Colors, Retaining Color Balance
Increase R/G/B

Decrease R/G/B


Convert to Cartoon , Painting , or Resize/Crop
Transformation of Shapes in Image
Resize or Crop Image
Adjustments when converting a blur photot to a more clear, sharp image
 Before you sharpen the image, adjust the colors, by enhancing saturation, contrast, black white, Red/Green/Blue primary colors etc, according to your needs. You can do this using this website (editor pages), or by an external editor. Once you have adjusted the colors, upload the image, and click the submit/convert button. Optionally, you can make gradual adjustments and see, to customize the result. Use the `refine` control to improve sharpness of shapes. However, this increase, makes the processing time higher, and you may have to wait a longer time, for the result. Besides, over increasing smoothness will produce a rather abnormal picture, because it reduces color fluctuations on a surface area. By increasing the `color adjustment`, you can improve the sharpness appearance, as it helps capture more pixels , into a single color area. But, over increasing this too will result in loss of beauty and much detail. If you reduce the color adjustment , the clear and sharp effect will drop. Therefore maintain the default settings or make little adjustments to get the best , sharpen effect with improved image clarity.
Color adjustments before image sharpen
 It is best that you do any color adjustments , before image sharpen. What this sharpen process does is , reduce the blurriness, mostly at the edges of shapes. Blur occurs due to color mixing between adjacent pixels, which reduces the color difference between nearby pixels. In contrast, sharp edges, with high pixel color difference , make the image more striking and clear. During processing some pixel colors are replaced to creat sharper edges, and pixels in smooth areas are replaced with average color. Therefore, there is a loss of detail in picture, after the sharpen. If you want to adjust colors in the picture, it is best to do it before sharpen, while the color details prevail. However, you can switch the precedence according to your desired result. When adjusting colors, increase saturation and contrast to make dull or low color images more vibrant. Also, you can use the `change Red/Green/Blue` operation of this service, for a more customization of color palette. Red,Green,Blue are primary colors (in digital screens), and by adjusting them in combination, you can improve or reduce other colors such as orange, yellow, purple, pink, cyan, azure, etc. If you reduce saturation, it is important to improve black-white, for a better picture with color depth.